How to do a "High Bun"


In this tutorial we use a Taro to create a high bun. This generally suits longer hair but can work with other types of hair too.
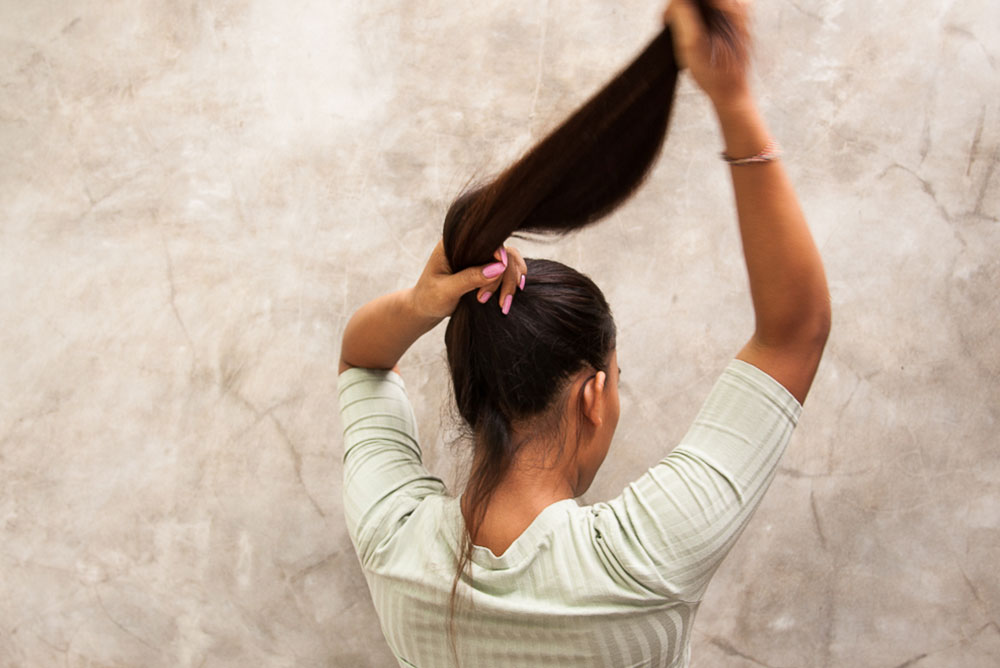
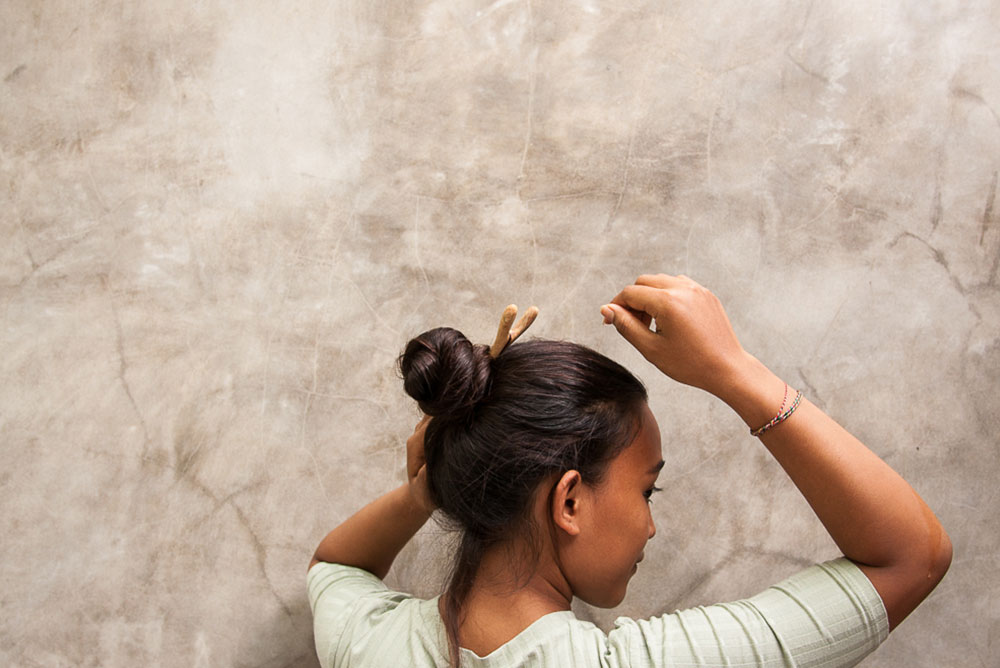
- Twist your hair into a high bun.
- Keep twisting until it coils around itself.
- Using the end piece of hair, hold your bun as firm or loose as you prefer.
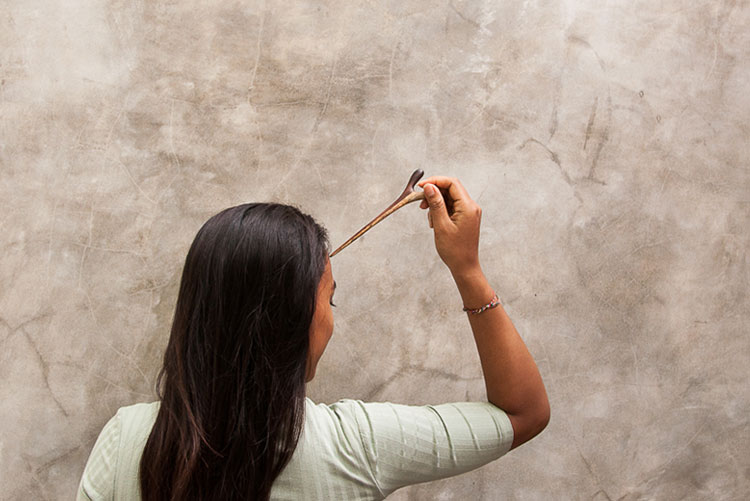
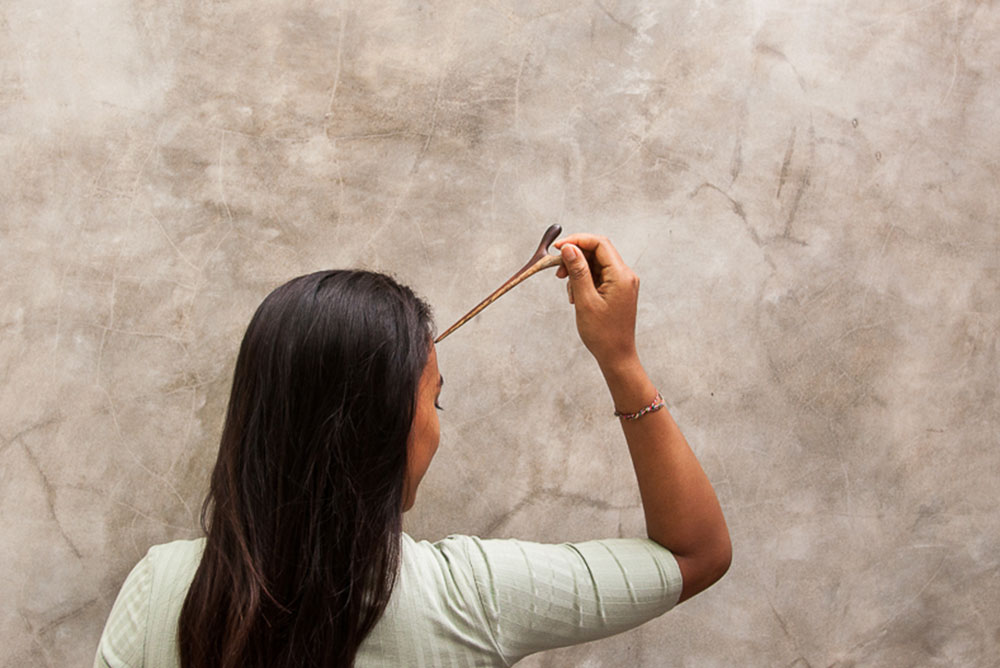
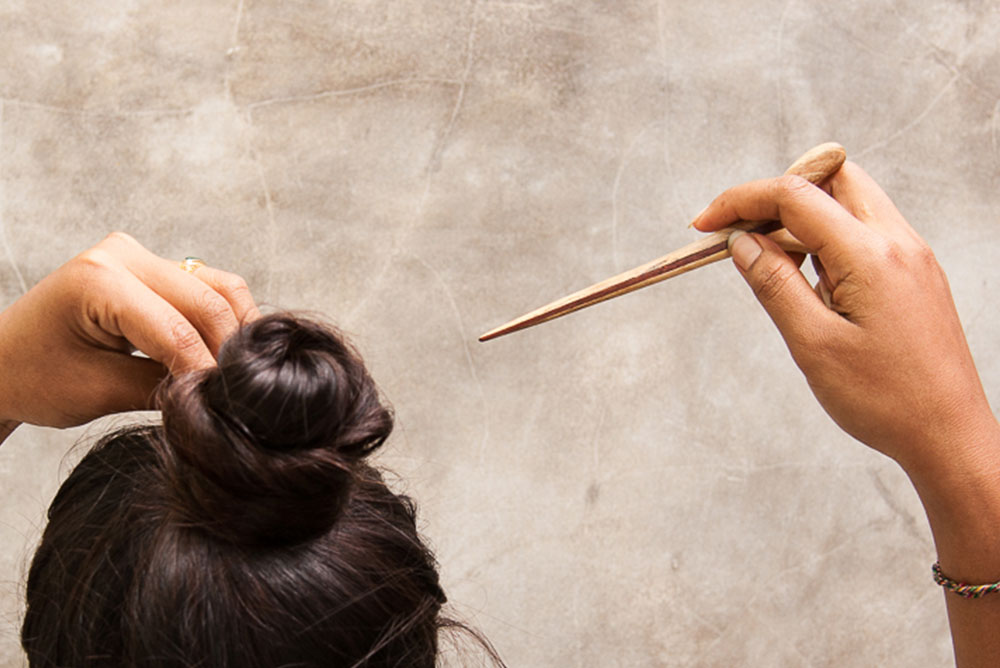
- Take your hairpin to secure the bun, by weaving it through multiple layers of hair until it touches the skin at the top of your head.
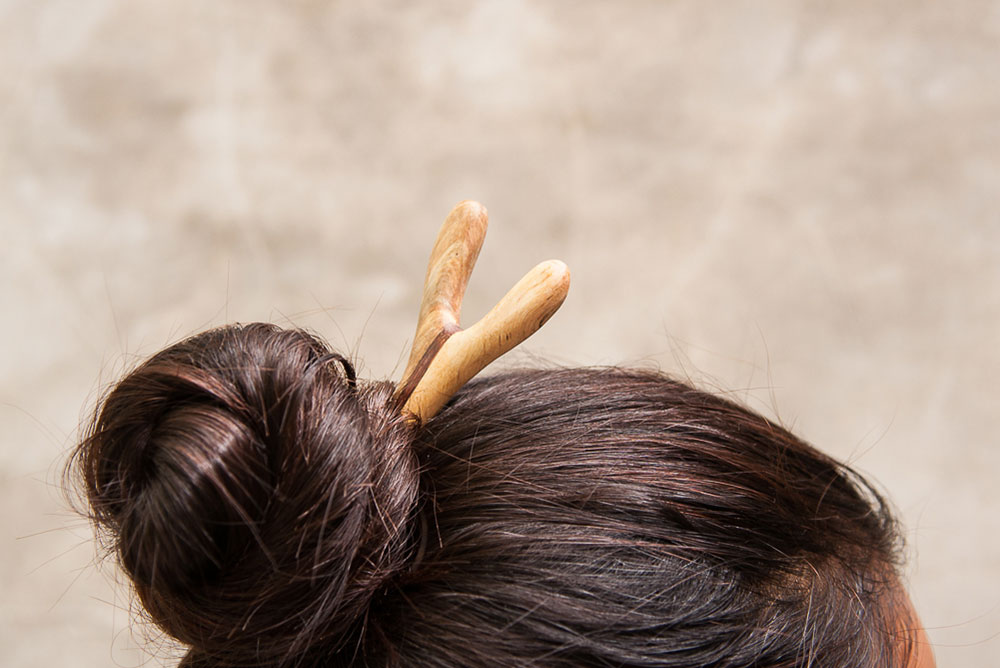
- Slide your hair stick through your bun to hold it in place.
The Hair stick used in this Tutorial is %name
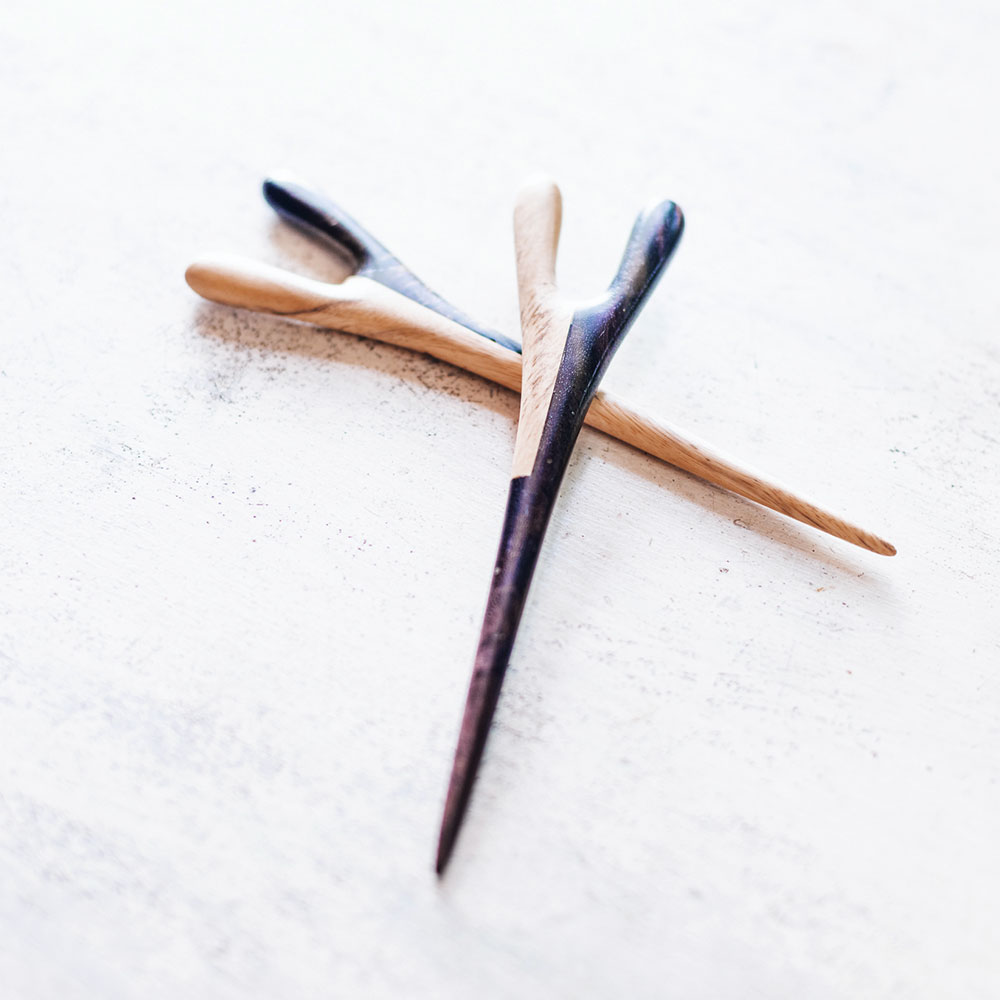
The Taro Hairstick echoes the form of traditional hairpins in its design. It is designed to hold up thick, heavy and long hair as well as being able to support finer hair types. It’s a classic, stylish hair stick and a popular favorite. Available in sustainably sourced Tamarind and Rosewood. All of our accessories are hand carved from waste offcuts left over from plantations in Indonesia. No one piece is ever the same. Your Taro hair stick arrives in fully recyclable packaging with a fabric sleeve to protect it whilst traveling.
VIEW PRODUCT


