How to do an “Easy Updo"

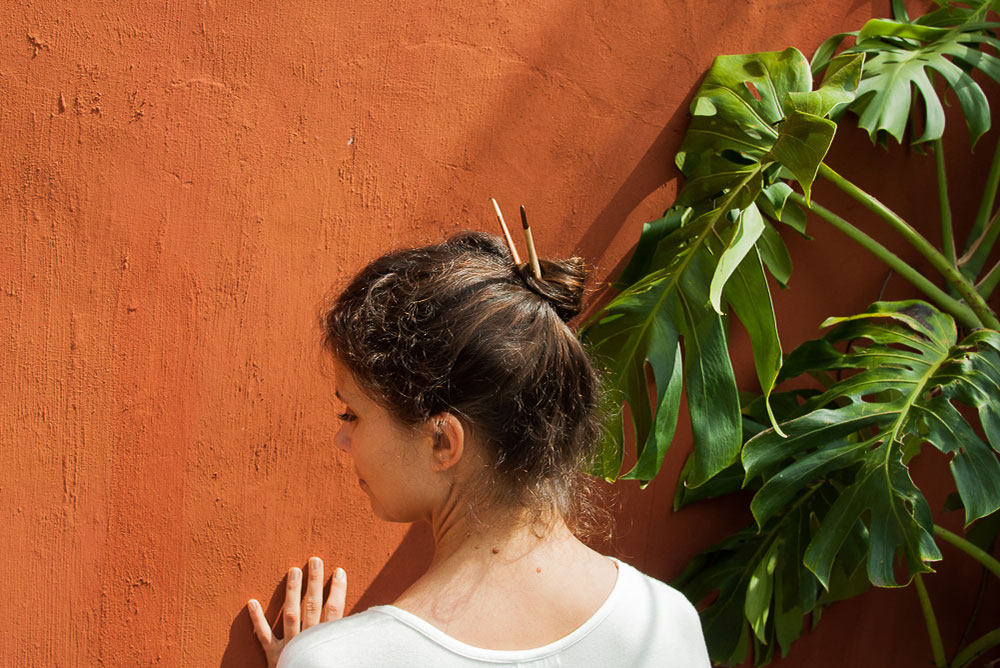
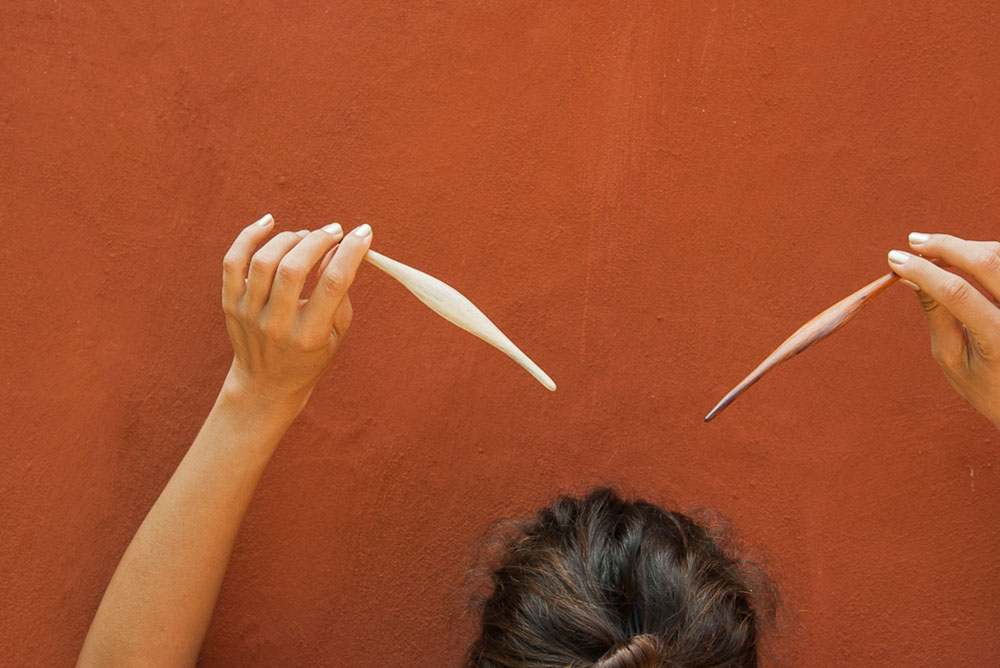
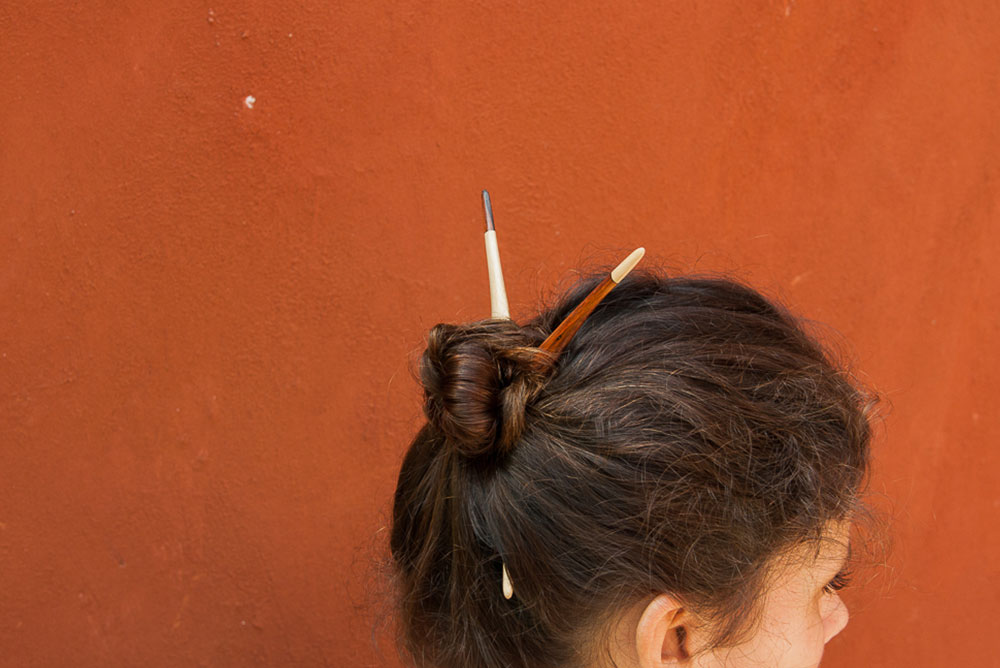
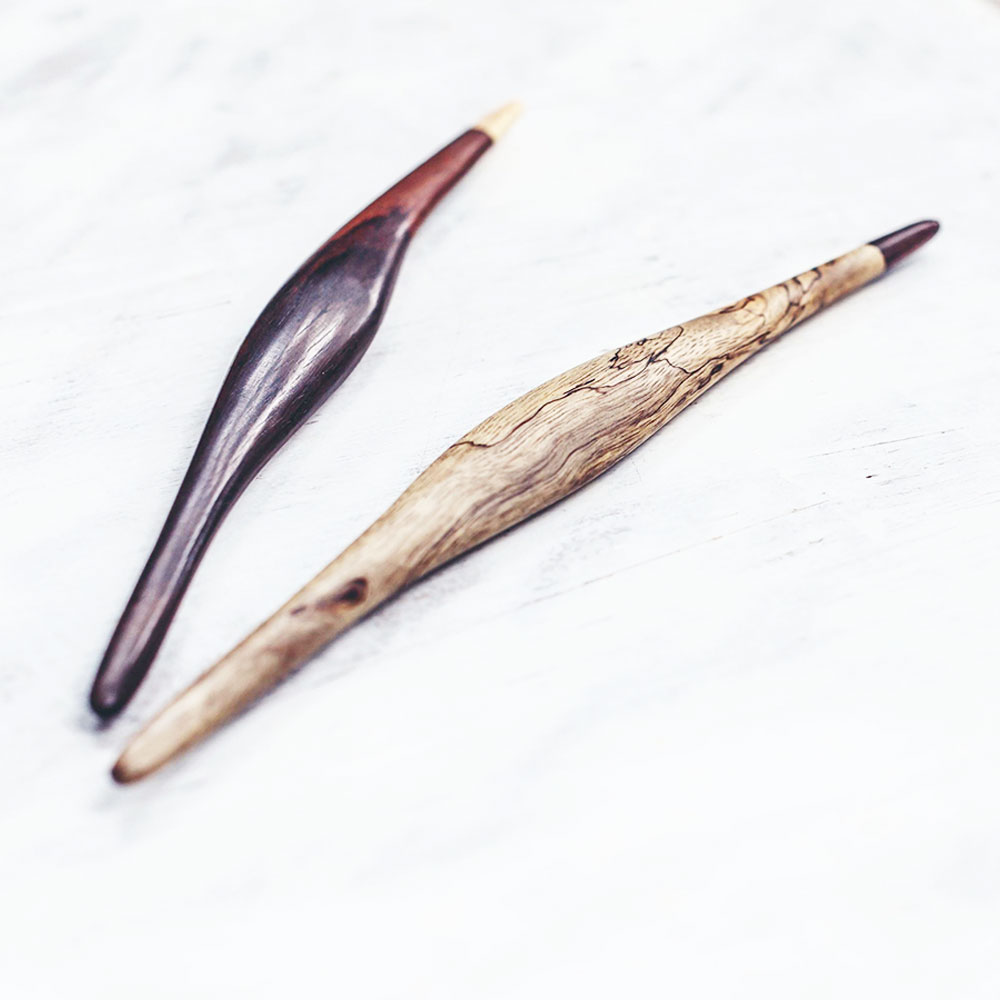
In this tutorial we use the Double Pandans hairpins from our collection to create an easy updo. This generally suits longer hair but can work with other types of hair too.
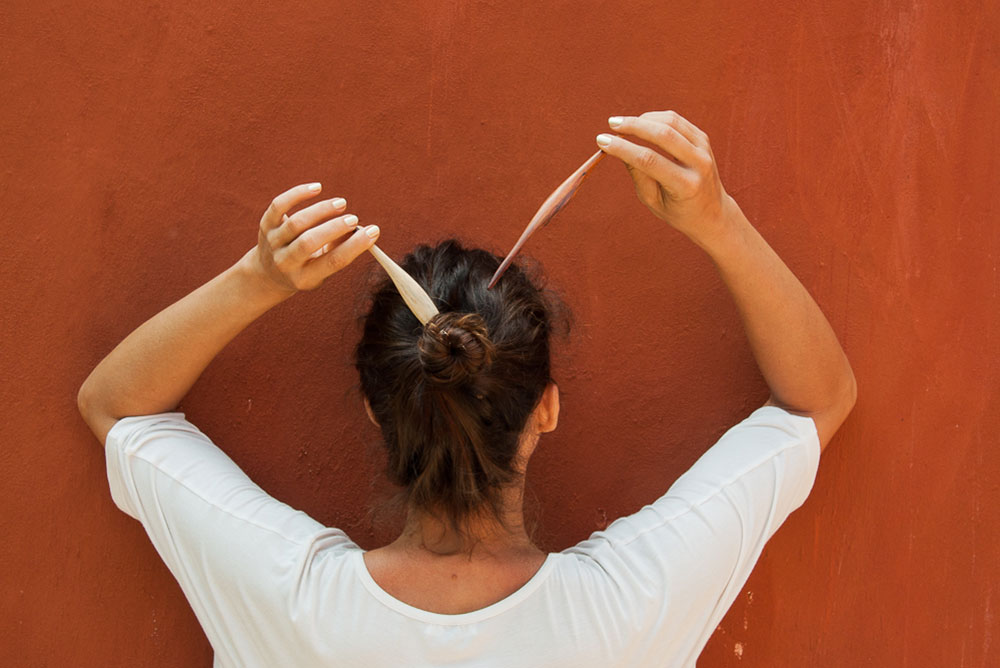
- Twist your hair into a high bun.
- Keep twisting until it coils around into itself.
- Using the end piece of hair, hold your bun as firmly or loosely as you like.
- Use your hairpin to secure the bun, weaving it through multiple layers of hair until it feels firm.

